A Bootstrap Welcome area for Moodle
While working on the minimum expectations and online course design rubric, I have created a template welcome area which can be copied and pasted into the “Welcome” area on your Moodle course to create a ready made, tabbed, welcome area.
To get started, first download the template from the Learning and Teaching area on AdminNet. Here is a direct link to the file. Once downloaded, open the file in notepad (Windows) or TextEdit (Mac). Don’t use Word Processors like Word or Pages – this won’t work. Highlight all of the text indicated in the file and COPY it (CTRL+C, CMD+C) or EDIT>COPY depending on your operating system / preference:
<!--WELCOME AREA COPY FROM HERE-->
<ul class="nav nav-tabs list-unstyled" id="myTab" role="tablist">
.....all the way down to......
<!--WELCOME AREA COPY UP TO HERE-->
Next, head to the Moodle course you are working on and switch on editing.
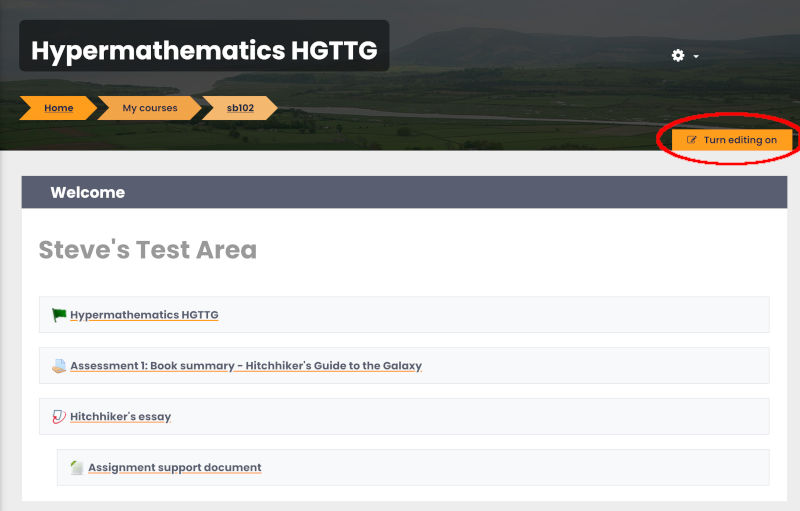

Next, add a label at the top part of your course.

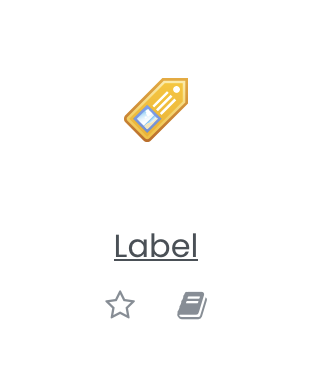
Choose label from the list of activities and resources

Click the down arrow in the general label text tools
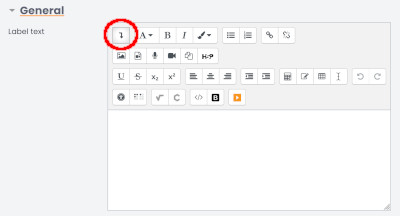
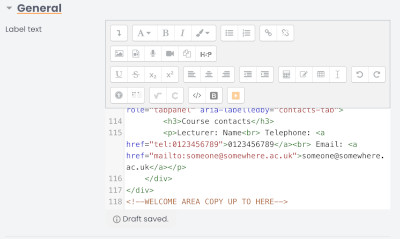
With the extra tool icons showing choose the HTML icon </>.
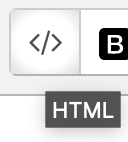
The label will now show the HTML code (don’t worry you don’t need to understand this part). Highlight all of the text in the box and paste the code from your text editor (notepad or TextEdit) CTRL+V, CMD+V or EDIT>PASTE
Now click the HTML button again </> and you can start to edit the text in each of the tabs. If you get into a mess you can paste in the template to try again or contact Learning and Teaching for assistance.
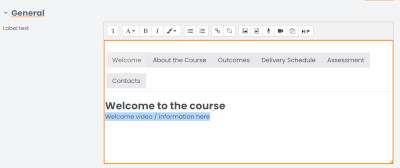
Click save and return to course when you are finished

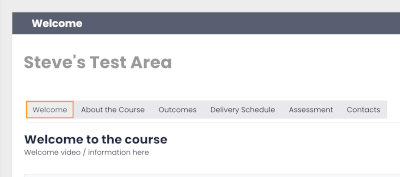
Move the welcome area to the top if you prefer, so that it’s the first thing the learner sees.
We can provide customised welcome areas with more weeks in the Delivery Schedule. That’s the only part that’s tricky to change by yourself. If you are brave enough have a look at the HTML code and see if you can work out how to add more delivery weeks.